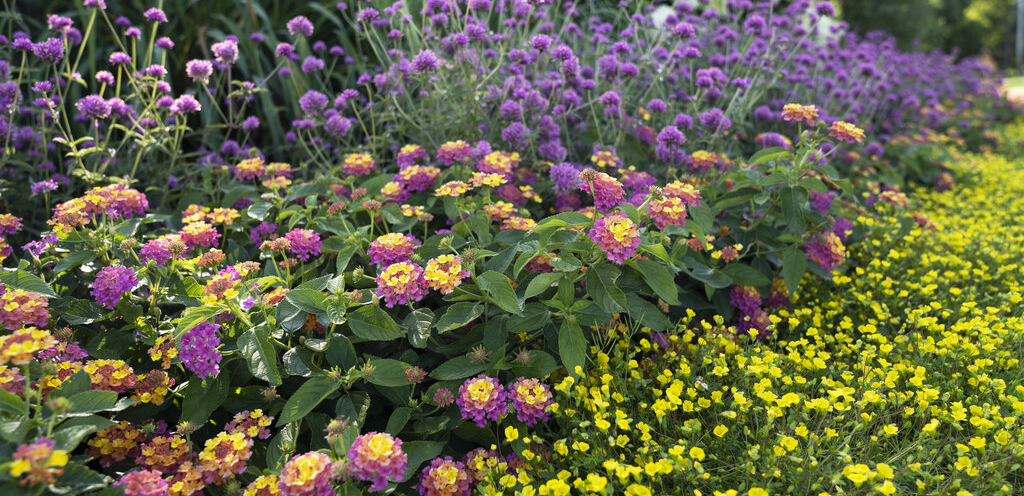
Annuals are one of the easiest and most rewarding ways to add vibrant color, texture, and seasonal interest to your landscape, patio containers, window boxes, and garden beds. From cheerful petunias and colorful calibrachoa to dramatic coleus and cascading verbena, annual flowers provide nonstop blooms from spring through frost with relatively little maintenance.
Whether you're planting a few containers on the porch or refreshing an entire garden bed, giving your annuals a strong start will help them establish quickly, grow vigorously, and deliver beautiful color all season long. Follow these simple planting steps for the best results.
How To Plant Annuals Successfully
-
Plan Your Space Carefully
Before planting, determine how many plants you'll need for the area you're working with. Proper spacing helps annuals fill in beautifully without becoming overcrowded, which improves airflow and reduces stress on the plants later in the season. Spacing recommendations can usually be found on the plant tag, in our online plant catalog, or by speaking with one of our knowledgeable staff members. -
Prepare The Soil
Healthy soil is the key to healthy plants. Pull back any existing bark mulch and add a 1-2" layer of compost, composted cow manure, or another high-quality soil amendment to enrich the planting area. Work the material into the existing soil to a depth of approximately 4-8". This improves drainage, adds nutrients, and encourages stronger root development. -
Water Before Planting
Make sure your annuals are well watered before removing them from their containers. Hydrated plants experience less transplant stress and settle into the garden more quickly. Arrange the plants in your desired pattern while they are still in their pots so you can easily adjust spacing and color combinations before digging.If you're planting during warm or sunny weather, work in smaller sections to prevent plants and exposed roots from drying out.
-
Loosen The Roots And Plant Properly
Gently remove each plant from its container and lightly loosen any roots that are circling the root ball. This encourages the roots to spread outward into the surrounding soil. Dig a hole wide enough to comfortably fit the roots, but shallow enough so the top of the root ball sits level with the surrounding ground once planted.Avoid planting too deeply, as this can stress the plant and reduce growth.
-
Feed For Season-Long Performance
Annuals are heavy bloomers and benefit from regular feeding. At planting time, consider incorporating a balanced slow-release or organic fertilizer into the top inch of soil around the plants. This provides a steady supply of nutrients that supports continuous flowering and healthy foliage throughout the season.Once planted, replace any bark mulch around the area to help conserve moisture and reduce weeds, then water thoroughly.
-
Monitor Watering Closely
Newly planted annuals require consistent moisture while they establish. Check the soil daily for the first couple of weeks and water whenever the soil begins to dry out. During hot summer weather or periods of drought, annuals may require additional watering, especially those planted in containers or hanging baskets.As a general rule, it's better to water deeply and thoroughly rather than lightly and frequently.
Enjoy Color All Season Long
With proper planting, watering, and feeding, annuals will reward you with months of continuous color and beauty. Whether you're creating bold flower beds, welcoming entryways, or eye-catching patio containers, a little preparation goes a long way toward keeping your garden looking its best from spring through fall.
If you have questions about plant selection, spacing, sun exposure, or care, visit your local Estabrook's garden center and our team will be happy to help you get growing.