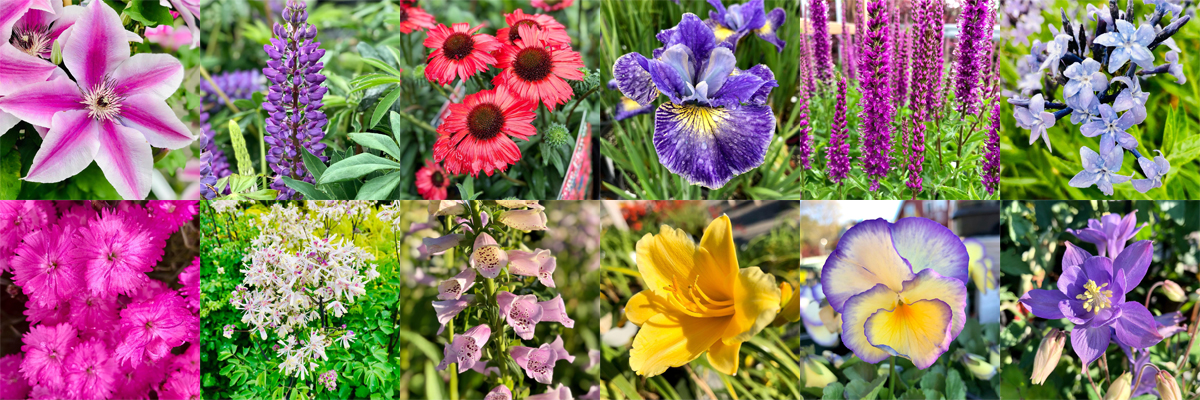
Perennial Planting Guide
Perennials are the backbone of many gardens, prized for their ability to return year after year with stunning blooms, vibrant foliage, and seasonal interest. With a wide variety of shapes, sizes, and colors available, they offer endless possibilities for creative landscape design. To help your perennials thrive, follow these detailed planting and care instructions.
1. Choose the Right Plants for the Space
Before planting, consider the mature size of your perennials and the space available. Overcrowding can lead to poor air circulation, increased disease risk, and competition for nutrients. Refer to the plant tag, our online catalog, or ask one of our knowledgeable staff members to help you select the appropriate number of plants based on their recommended spacing.
2. Prepare the Soil Properly
Healthy soil is the foundation of a successful perennial garden. Start by pulling back any existing bark mulch. Most perennials prefer rich, well-amended soil. We recommend mixing a balanced organic fertilizer with a 2-4" layer of compost, composted cow manure, or another soil amendment. Work this mixture into the soil to a depth of 14-18", which allows roots to establish deeply and access nutrients more easily. Rake the surface smooth before planting.
3. Water Plants Before Planting
Ensure your perennials are well hydrated before going into the ground. A thorough watering helps reduce transplant shock and prepares the root ball for better absorption once planted.
4. Dig the Right Hole
Dig a hole that is wider than the root ball but no deeper. Planting too deep can suffocate the crown and lead to rot. A wide hole allows roots to spread more easily into surrounding soil, which helps the plant establish more quickly.
5. Remove the Plant and Loosen the Roots
Carefully remove the plant from its container. If the roots are tightly wound or circling the root ball, gently tease them apart with your fingers or make a few shallow vertical cuts with a garden knife. This encourages the roots to grow outward rather than continue circling in place.
6. Plant and Backfill
Place the plant into the hole so the top of the root ball is level with the surrounding soil. Backfill with the amended soil, gently firming it down around the roots to remove air pockets. Avoid compacting the soil too much, which can inhibit root growth. Once planted, shape a 1" high ring of soil about 6-8" from the plant's crown to create a shallow "dish" that helps funnel water to the roots.
7. Apply Mulch
Mulching helps retain soil moisture, suppress weeds, and regulate temperature. Apply a 3-4" layer of bark mulch or a 1-2" layer of buckwheat hull mulch around the plant, being careful not to pile mulch directly against the crown, as this can promote rot and disease.
8. Water Thoroughly
Water the planting area deeply after installation. This helps settle the soil around the roots and ensures good contact between the root ball and surrounding soil. Continue checking daily for dryness during the first two weeks. Water as needed to keep the soil consistently moist but not soggy. Even established perennials benefit from supplemental watering during dry spells.
Final Tips
Patience is key with perennials - many will spend their first year getting established, their second year growing, and their third year blooming vigorously. With proper planting and care, your perennial garden will flourish season after season, offering long-term beauty and enjoyment.
Need help selecting the perfect perennials for your garden? Visit our garden center or browse our online catalog for expert guidance and inspiration.